Are you a professional painter or a beginner tackling your first DIY home project? There’s one common issue that can throw a wrench in your plans.
Paint Streaks!
Knowing how to fix paint streaks on walls is very important if you desire to take your painting profession to the next level.
These unsightly lines, often visible after your paint dries, can ruin the smooth, even finish you envisioned.
Fortunately, fixing paint streaks on walls isn’t as difficult as it might seem, and more importantly, there are preventative steps you can take to avoid them altogether.
This comprehensive guide will expose you to how to fix paint streaks on walls and how to avoid them in the first place, while ensuring your walls have that perfect, and professional look.
What are Paint Streaks and Why Do They Occur?
Paint streaks, sometimes called lap marks, occur when one section of paint dries faster than another, leading to uneven application.
This is common when painting large walls or working in hot, dry conditions where the paint dries too quickly.
Some major factors that contribute to paint streaks include the following,
Using Low-Quality Paint
Low-quality paints often don’t have the same consistency or coverage as premium paints, making streaks more likely.
Using the wrong brush or roller
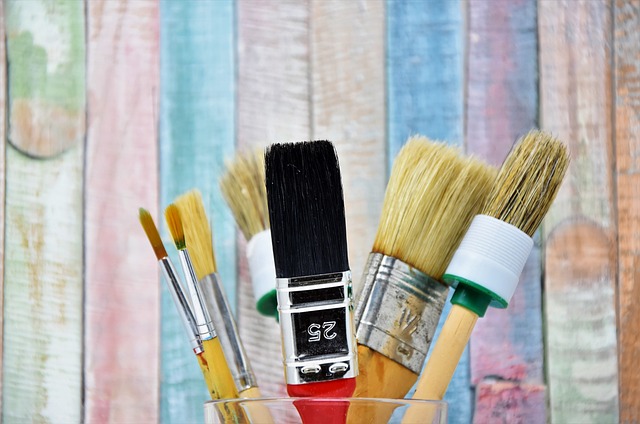
Using the wrong tools can also lead to streaks. Brushes or rollers that are too small, worn, or inappropriate for the type of paint can make it hard to apply paint evenly, causing streaks.
Applying Inconsistent Pressure During Painting
If you press too hard on your brush or roller, you can create lines where the paint is pushed aside, leading to streaks.
Failure to maintain a Wet Edge
When you are painting large surfaces, it’s important to keep a wet edge, meaning you must blend your strokes into the wet paint that was just applied to prevent drying differences.
Expert Guide on How to Fix Paint Streaks on Walls
As a professional painter, it’s ideal to prevent paint streaks from forming in the first place, it’s not uncommon for them to appear even after you’ve tried your best to avoid them.
Here are some expert steps on how to fix paint streaks on your walls and get the smooth, even finish you desire.
Step 1. Assess the Severity of the Streaks
Before you start fixing any streaks, first of all, determine how severe they are. Minor streaks can often be fixed by applying another coat of paint, but more serious streaks may require additional steps like sanding or priming the surface before repainting.
If the streaks are noticeable only in a small area, you might not need to repaint the whole wall, just the affected section.
Step 2. Lightly Sand the Affected Area
One of the most effective ways to fix paint streaks on walls is by lightly sanding the affected areas.
Use fine-grit sandpaper (220-grit is a good option) to gently smooth out the streaks.
Be careful not to press too hard, as you don’t want to damage the surface underneath or remove too much paint.
Note!
The goal here is to level out the uneven paint and create a smooth surface for a new coat.
Step 3. Clean the Sanded Wall
After sanding, you must clean the area to remove any dust or debris left behind. Then use a damp cloth or sponge to wipe the surface down and let it dry completely.
Dust can interfere with paint adhesion, so make sure the wall is entirely clean before moving to the next step.
Step 4. Prime the Surface (if necessary)
If the streaks were caused by improper application or a poor base surface, applying a primer might be necessary.
Priming the wall helps you ensure that the new paint adheres properly and creates an even surface.
Use a high-quality primer and apply it evenly to the sanded area, ensuring it dries completely before applying a new coat of paint.
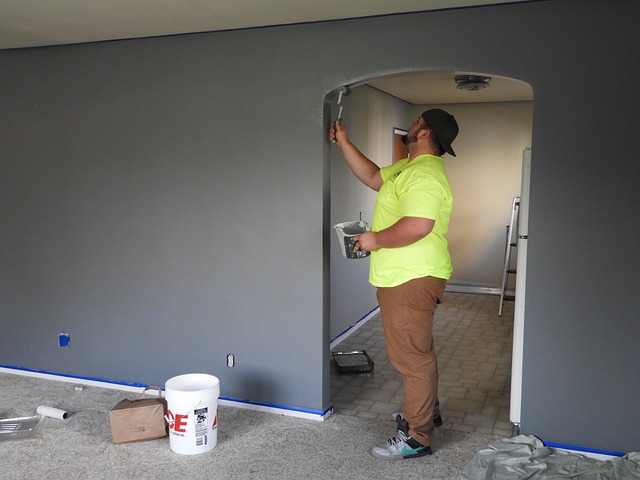
Step 5. Repaint the Area
Once your surface is sanded, cleaned, and primed (if necessary), it’s time to repaint.
Use the same paint you originally used and make sure it’s mixed thoroughly for a consistent color and texture.
For smaller areas, a good-quality brush can do the job, but if you’re repainting an entire wall, use a quality roller to ensure an even application.
Step 6. Allow the Paint to Dry and Inspect It
Let the newly painted area dry completely, and inspect it for any remaining streaks.
If necessary, repeat the sanding and repainting process until you’re satisfied with the result.
Remember!
Patience is key, so, rushing the process can lead to more streaks and uneven finishes.
Professional Tips on How to Avoid Paint Streaks on Walls
While knowing how to fix paint streaks is important, it’s even better to prevent them from happening in the first place.
Here are some professional tips on how to avoid paint streaks during your next painting project.
Use High-Quality Paint
Using high-quality paint can make a huge difference in the final result.
Premium paints have better coverage, and a smoother consistency, and are less likely to leave streaks.
They may cost more upfront, but they can save you time and effort in the long run by reducing the likelihood of streaks, drips, and other imperfections on your wall.
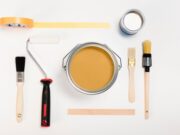
Choose the Right Tools
Using the right tools is very important to achieving a streak-free finish.
For large surfaces, a roller with a medium or long nap (depending on the texture of your wall) is ideal.
But, If your walls are smooth, a shorter nap will work better, while textured walls require a longer nap roller to reach all the crevices.
Additionally, make sure your brushes are in good condition. Worn-out or dirty brushes can cause streaks and an uneven finish.
Apply Your Paint Evenly
It’s important to apply your paint in an even, and consistent manner.
Start by cutting in around the edges of the wall with your brush, then use your roller for the larger areas.
When rolling, use long, smooth strokes and avoid going over the same area too many times.
Apply thin coats and allow each coat to dry completely before applying the next one.
Maintain a Wet Edge
One of the main causes of streaks is failing to maintain a wet edge.
To prevent this, work in small sections, overlapping each stroke slightly with the previous one while the paint is still wet.
This ensures a smooth transition between sections and prevents visible lines or streaks from forming.
Paint in the Right Conditions
Painting in the right conditions can make a big difference in the final result.
Ideally, you should paint in moderate temperatures (between 50°F and 85°F) and avoid extremely humid or dry conditions.
If the air is too dry, the paint will dry too quickly, making it difficult to maintain a wet edge.
If it’s too humid, the paint may dry too slowly, leading to drips and streaks.
Use Proper Painting Techniques
Mastering professional painting techniques is key to avoiding streaks.
For instance, when using a roller, start in the middle of the wall and work your way out.
Use a “W” or “M” pattern to distribute the paint evenly, then go back over it with vertical strokes to smooth it out.
When using a brush, apply paint in thin, even layers and avoid overloading the brush, as this can lead to drips and streaks.
Don’t Rush the Painting Process
Painting is a process that requires patience.
Rushing through it by applying thick coats, skipping the primer, or not allowing enough drying time between coats can lead to streaks and other imperfections.
Take your time and follow each step carefully to ensure a smooth, professional-looking finish.
Sand Between Coats
For the best results, lightly sand the surface between each coat of paint.
This will help you remove any imperfections, dust, or bubbles that may have formed during the first coat and ensure a smooth surface for the next one.
Use fine-grit sandpaper (220-grit) and wipe the surface clean before applying the next coat of paint.
Conclusion
Fixing paint streaks on walls may seem tasking, but with the right techniques and tools, it’s entirely manageable.
Whether you’re a professional painter or a DIY enthusiast, following the above-mentioned tips will help you tackle any painting project with confidence.
With a little patience and attention to detail, your walls will have that flawless, professional look you’re after.
I hope this was helpful.


