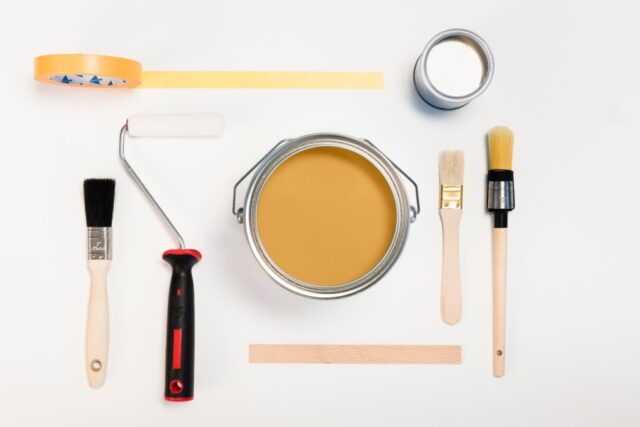
Painting your home’s interior can transform the look and feel of your space.
If you’re looking to refresh your room, add an accent wall, or renovate your entire house, having the right painting tools can make the process more efficient and also help you deliver a professional-looking finish.
From preparing surfaces to applying the final coat, each tool serves a purpose that will contribute to the overall success of your project.
In this blog post, we will walk you through the 10 best interior painting tools for any home painting project.
With the right tools, even DIY painters can achieve beautiful, high-quality results.
1. Painter’s Tape
One of the most important tools in any painter’s kit is painter’s tape. This is used to protect surfaces like trim, windows, door frames, and baseboards from paint splatter.
When you apply it correctly, it will ensure a crisp, clean lines where different surfaces or walls meet, such as where the wall meets the ceiling or around light switches and outlets.
Features To Look Out For When Purchasing A Painter’s Tape
1. Choose a painter’s tape that is easy to remove without damaging surfaces or leaving residue behind.
2. Choose a tape that has a good adhesion strength, one that sticks well but won’t peel off paint when removed.
3. Select different sizes. Painter’s tape comes in various widths, so you must choose the right size for different parts of the room.
2. Quality Paint Brushes
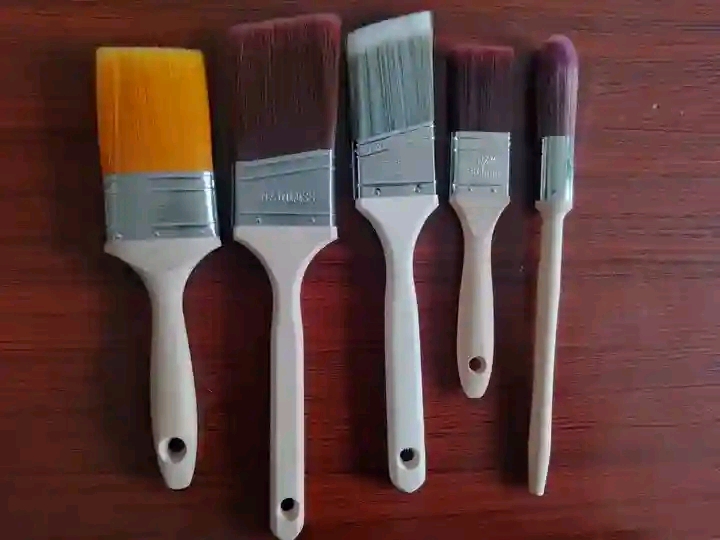
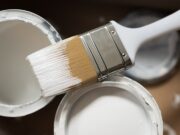
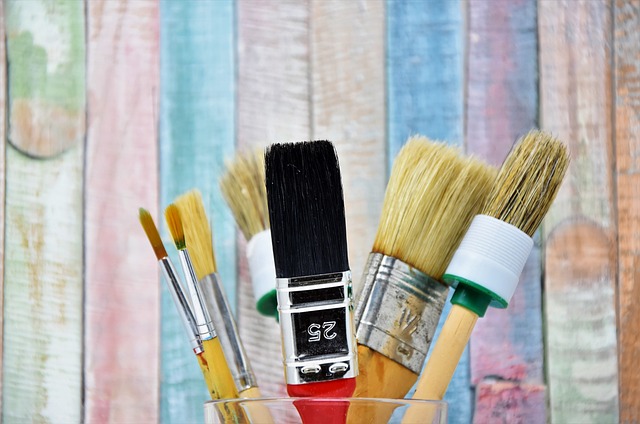
For intricate areas where your rollers can’t reach, such as edges, corners, and trim, a good-quality paintbrush is invaluable.
There are various brushes for different kinds of paint (oil-based vs. water-based) and other finishes (smooth vs. textured).
So, investing in a quality paintbrush will ensure a smoother application with fewer visible brush marks.
Types of Paint Brushes You Must Have
1. Angled Brushes
These types of brushes are ideal for cutting in at edges, especially where walls meet ceilings or corners.
2. Flat Brushes
These are best for covering flat surfaces like doors and large trims.
3. Bristle Material
Lastly, synthetic bristle brushes work best with water-based paints, while natural bristles are suitable for oil-based paints.
3. Roller Frames and Covers
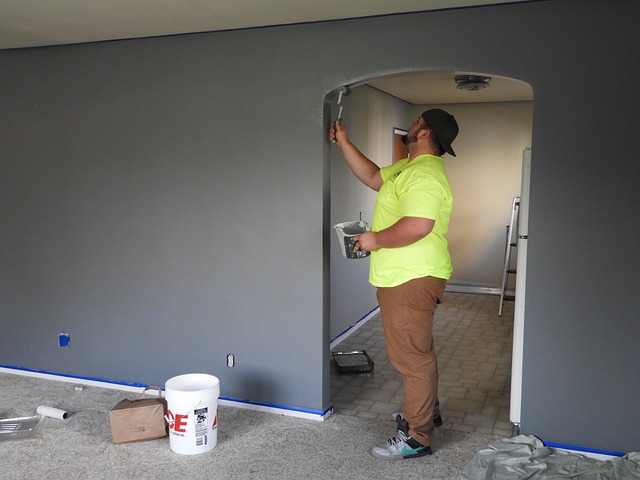
Rollers are the workhorse of interior painting projects. It allows you to cover large areas like walls and ceilings quickly and efficiently.
The roller frame is what holds the roller cover, and it’s important you choose a sturdy frame with a comfortable grip for long-term use.
The roller cover, meanwhile, is chosen based on the texture of the surface you want to paint.
The Types of Roller Covers To Choose
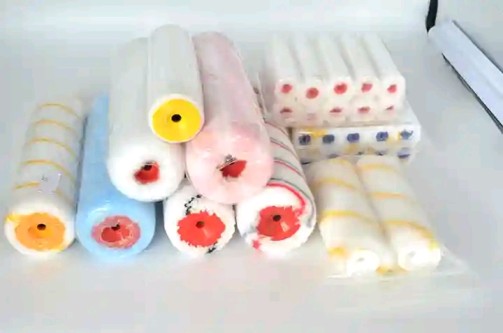
1. For smooth surfaces, choose a roller cover with a short nap (¼ inch or less) it is ideal for a perfect finish.
2. While for textured surfaces like brick or textured drywall, go for a roller cover with a longer nap (½ inch or more) to ensure the paint gets into all the crevices.
4. Drop Sheets or Drop Cloths
Protecting your floors, furniture, and other items from paint splatter is very important during a painting project.
Drop sheets provide a reliable way to cover large areas and prevent paint from damaging carpets, hardwood floors, and countertops.
Types of Drop Cloths
1. Canvas drop sheets
These are durable and reusable, drop cloths that are ideal for large projects. They absorb paint splatters very well.
2. Plastic drop sheets
These are cheaper and disposable dropsheets that are useful for covering furniture but may not be as effective on floors due to their slipperiness.
3. Paper drop sheets
This is a biodegradable option for smaller, less messy projects.
5. Extension Poles
When painting ceilings or tall walls, extension poles make the task easier by allowing you to reach high areas without necessarily using a ladder or bench.
Extension poles attach to roller frames, makes it easier for you to paint large surfaces in one continuous motion.
Top Features You Should Consider When Choosing An Extension Pole
1. Adjustable Extension Pole
Look for extension poles that are adjustable to different lengths for various ceiling heights.
2. Extension With Comfortable Grip
A non-slip, comfortable grip is essential for long painting sessions so its important you consider it.
6. Paint Trays and Liners
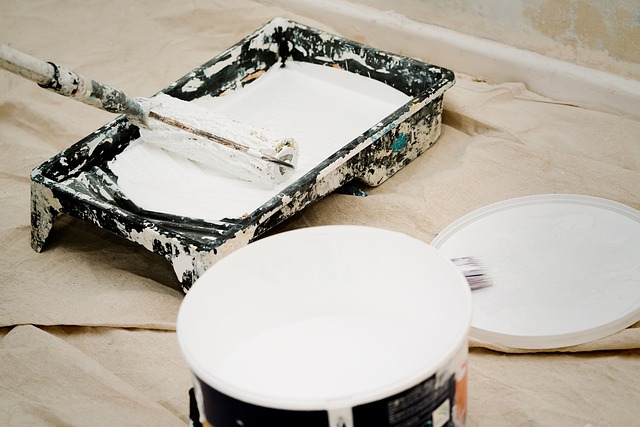
A good paint tray is a necessity when using rollers, as it allows you to evenly distribute paint on the roller without overloading it.
Paint tray liners are a convenient option that saves you from having to clean the tray after each use.
What You Should Look Out For
1. Sturdy Construction
Make sure that the tray is durable enough to hold large amounts of paint without tipping over.
2. Tray Liners
Choose disposable liners, they can save you time and make cleanup easier.
7. Spackling Paste and Putty Knife
Before you start painting, it is always important to repair any cracks, holes, or imperfections in the walls.
Spackling paste (or joint compound) is used to fill in these areas, while a putty knife is the tool used to apply it smoothly.
How to Choose the Right Putty Knife
1. Consider The Width
A narrower putty knife (around 2 to 4 inches) is best for small holes, while a wider one is more effective for larger imperfections and repairs.
2. Check For It’s Flexibility
A flexible putty knife is ideal for filling small cracks, while a stiffer knife can better smooth larger areas.
8. Edging Tool
While painter’s tape helps create clean lines, an edging tool takes this to the next level.
Edging tools allow you to paint along edges with precision, eliminating the need for constant taping and cutting in.
These tools are particularly useful for painting along baseboards, ceilings, and corners.
Advantages of Edging Tools
1. It Increases Your Speed and Precision
Edging tools can make the whole task of cutting in faster and more precise.
2. It Helps You Achieve Clean Lines
These tools helps you to reduce the chances of uneven lines or stray brush marks.
9. Hand Paint Mixer
Achieving an even and consistent color is important for a professional paint finish, especially if you’re working with paint that has been sitting for a while.
A paint mixer, typically attached to a drill, will help you ensure that the pigments and oils in the paint are thoroughly mixed.
Why Should You Use a Paint Mixer
1. It helps you to achieve consistency and prevents uneven color distribution and streaks.
2. It is easy to use. It is a simple tool that is attached to a drill for quick and thorough mixing.
10. Ladder or Step Stool
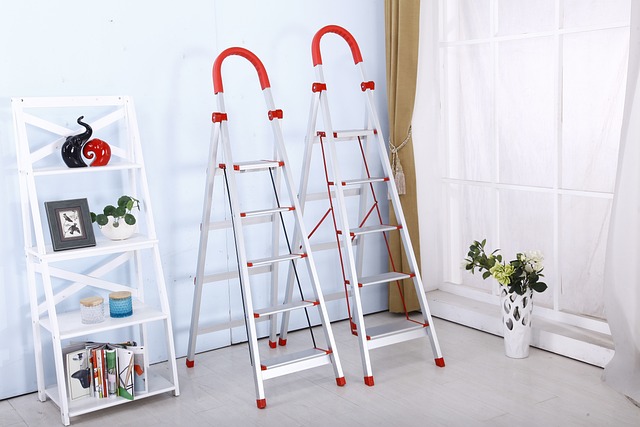
Finally, when painting high walls or ceilings, you’ll need a sturdy ladder or step stool. A ladder provides access to hard-to-reach areas, allowing you to paint with precision and control.
Make sure your ladder or step stool is stable and has rubber feet to prevent slipping.
Ladder Features You Should Consider
1. The Height
Choose a ladder that’s tall enough for your ceiling height but easy to transport and store.
2. The Sturdiness
Go for a ladder that’s stable, especially if you’ll be standing on it for extended periods.
3. The Multi-functionality
Some ladders come with platforms or trays to hold paint cans or tools, making them even more convenient for painting projects.
Additional Tips for a Successful Interior Painting Project
Now that you know the best tools for the job, here are a few additional tips to help you ensure your painting project goes smoothly.
1. Prepare the Area Properly
Before you even pick up your brush or roller, make sure the room is properly prepared.
Remove furniture or cover it with your drop cloths, wipe down walls to remove dust or dirt, and repair any wall imperfections with your spackling paste.
2. Choose the Right Paint
Not all paints are created equal. For interior walls, water-based latex paints are generally easier to work with and clean up, while oil-based paints are more durable but harder to clean.
Consider the finish as well, matte finishes hide imperfections better, while glossier finishes are easier to clean.
3. Work in Sections
Don’t try to tackle the entire room at once. Instead, break the room into sections and focus on one area at a time.
This will help you maintain consistency and ensure no area is overlooked.
4. Use the “W” Technique
5. Clean Up Properly
Proper cleanup extends the life of your painting tools. Wash your brushes, rollers, and trays with warm soapy water for latex paint or paint thinner for oil-based paint.
Let everything dry completely before storing them for future use.
Conclusion
Painting the interior of your home can be a rewarding project, especially when you have the right tools at your disposal.
Whether you’re refreshing a single room or transforming your entire home, the quality of your painting tools can make a significant difference in the outcome.
With the 10 essential tools we listed above, you’re well-equipped to tackle any interior painting project with confidence.
By investing in these tools and following proper painting techniques, you can achieve a beautiful, long-lasting finish that enhances the look of your home.
Happy Painting.


